If you want to create your own embroidery patch at home, You will want to start by gathering the right materials and establishing a solid design. Choosing a sturdy fabric, like canvas, is crucial, and you should wash it first to eliminate any chemicals. Once you have sketched your design, securing the fabric in an embroidery hoop becomes the next important step. As you begin stitching, you’ll find that mastering techniques like backstitch and satin stitch can greatly enhance your patch’s quality. But what comes next might surprise you, as the finishing touches can make all the difference.
Required Materials
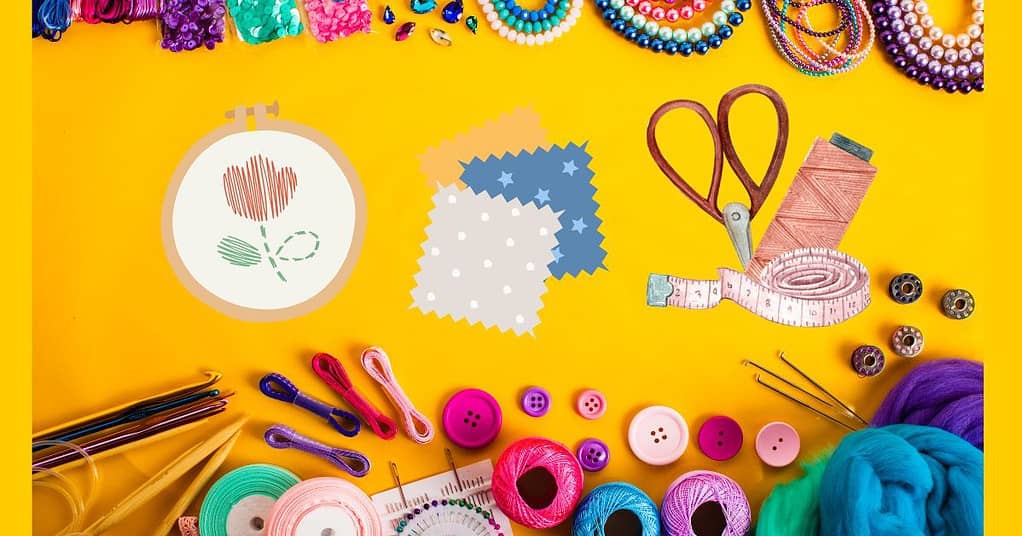
To get started with, you have to have a few essential materials.
- First, gather some sturdy fabric, like canvas or denim, which will serve as the base for your patch.
- Collect embroidery thread in various colours to bring your design to life; opt for high-quality threads that won’t fray easily.
- A sharp needle, preferably one designed for embroidery, is crucial for making clean stitches.
- Don’t forget a pair of scissors for trimming excess fabric and thread.
- An embroidery hoop can also keep your fabric taut while you work.
- A backing material like felt or iron-on adhesive will help secure your patch once it’s finished.
With these supplies in hand, you’re ready to start!
Designing Your Patch
Once you’ve gathered your materials, it’s time to focus on the design of your patch. Start by brainstorming ideas that reflect your style or message. Sketch out a few concepts, keeping in mind the shape and size of your patch. Use bold, simple shapes and colours; intricate details can get lost in embroidery. Consider using text, but make sure it’s legible. Choose a font that complements your design. You can also look for inspiration online or in embroidery books.
Once you settle on a design, create a final version that you can easily transfer to fabric. Remember to keep it balanced and visually appealing, as a well-thought-out design will elevate your patch and make it truly stand out.
Preparing the Fabric
Choose a fabric that suits your design; cotton and canvas work great. Wash and dry the fabric to remove any sizing or chemicals that could interfere with the stitching. Once it’s clean, iron it to eliminate wrinkles and ensure a smooth surface for your patch.
Next, cut the fabric to your desired size, adding an extra inch around the edges for easier handling. Cut it to the same size if you’re using a backing, like stabilizer or interfacing.
Lastly, secure your fabric with pins or a temporary spray adhesive to keep it in place while you work. Now, you’re ready to move on to stitching techniques!
Stitching Techniques
As you dive into stitching techniques, you’ll discover that the right methods can make or break your embroidery patch. Start with a solid foundation by using a tight backstitch to outline your design. This stitch not only secures the edges but also enhances the overall appearance. For filling in larger areas, try the satin stitch; it creates a smooth, polished look. If you want texture, use the French knot or the lazy daisy stitch for embellishments.
Tension is key—keep your stitches even and not too tight. Practice on scrap fabric if you’re unsure.
Finally, don’t hesitate to mix techniques to achieve a unique style that reflects your creativity. Happy stitching!
Finishing Touches
The satisfaction of completing your embroidery patch comes from carefully applying finishing touches that bring your design to life.
Start by trimming any excess fabric carefully, ensuring you don’t cut into your stitches. Next, consider adding a backing material to give your patch durability and a polished look. Iron on a heat-activated adhesive or sew on a fabric backing for secure attachment.
If you’re using the patch for clothing, think about applying a zigzag stitch around the edges to prevent fraying. Finally, give your patch a final press with an iron, using a cloth to protect the embroidery.
These finishing touches enhance the overall appearance and longevity of your patch, making it truly stand out.
Most Asked Questions on In-House Embroidery and Quilt Work
How to Choose the Right Thread Color?
Choosing the right thread colour starts with considering your design’s overall theme. Think about contrast and how colors complement each other. Do not hesitate to experiment; sometimes unexpected combinations create the most striking effects in your work.
What Is the Best Method for Attaching the Patch?
You’ve got a few great options for attaching your patch. Sew it on for durability, use fabric glue for a quick fix, or iron it on for a simple, no-sew method that’s easy and effective.
Can Embroidered Patch be Washed?
Yes, you can wash your embroidered patch. Just make sure to use cold water and a gentle cycle. Avoid bleach and high heat when drying to preserve the patch’s colors and integrity.
How to Ensure Patch Should Last Long?
To ensure your patch lasts long, you should avoid direct sunlight, wash it gently, and store it properly. Regularly check for fraying and reinforce edges as needed. Taking care will keep it looking great!